SOC Lab Pt1: Setup
The goal of this project is to build a Virtual Security Operations Center (SOC) lab.
We will set up an Ubuntu Server VM for Wazuh, a Windows/Linux VM as a monitored victim endpoint, and use Kali Linux to simulate attacks.
We will be using VirtualBox as the hypervisor to run all VMs and will use a NAT Network to connect all our VMs together.
What is Wazuh#
Wazuh ↗ is a free, open-source cybersecurity platform that combines SIEM (Security Information and Event Management) and XDR (Extended Detection and Response) capabilities. It monitors endpoints, servers, and cloud workloads in real time to detect threats, log system activity, find software bugs, and handle security incidents.
Core Components
- Wazuh Agent: A small program installed on computers, servers, or cloud instances to collect system data.
- Wazuh Server: The central engine that processes and analyzes the data sent by agents.
- Wazuh Indexer: A search and storage database that saves security alerts.
- Wazuh Dashboard: A web user interface used to view graphs, alerts, and system health
Wazuh also provides a Pre-built virtual machine containing Wazuh Manager, Indexer, and Dashboard - all configured and ready which we can simply import into VirtualBox and start. No Linux setup required. Using an Ubuntu server VM gives us a more realistic scenario and this project is all about learning stuff.
VirtualBox Setup#
- Download and install VirtualBox ↗ on your system.
- Download the Ubuntu server iso from https://ubuntu.com/download/server ↗
- Create an Ubuntu Server VM with recommended specifications (min 2 CPU cores and 2GB memory).
We will be placing all our VMs in a NAT Network.
A VirtualBox NAT Network allows multiple virtual machines to safely talk to each other while sharing your host computer’s internet connection.
To create a NAT Network in VirtualBox, go to the Network tab -> NAT Networks and Click on the Create button.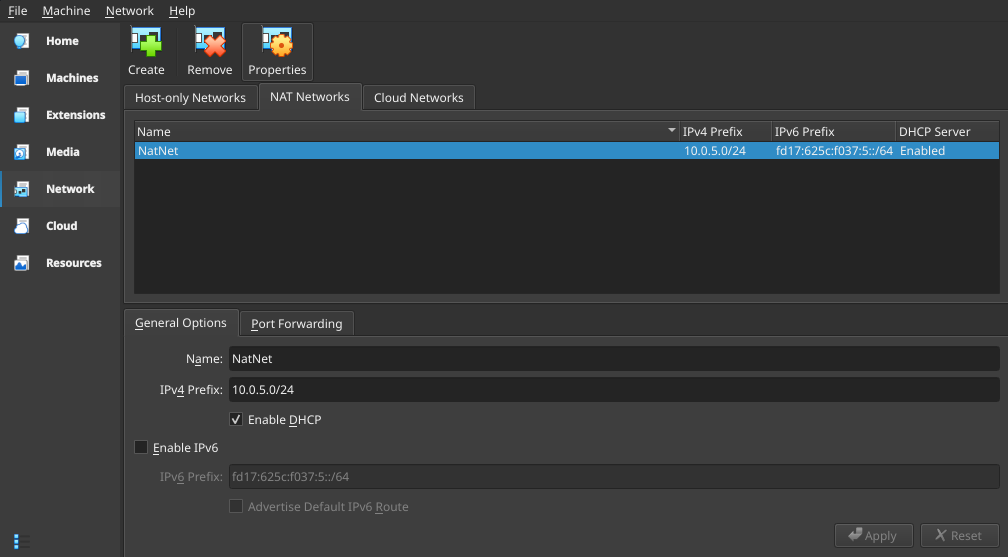
Give a name for the network and the IP range. I’m using the IP range of 10.0.5.0/24 for this project.
Change the network of the Ubuntu server VM by going to VM Settings -> Network tab.
Change the Attached to field to Nat Network and select the network we just created.
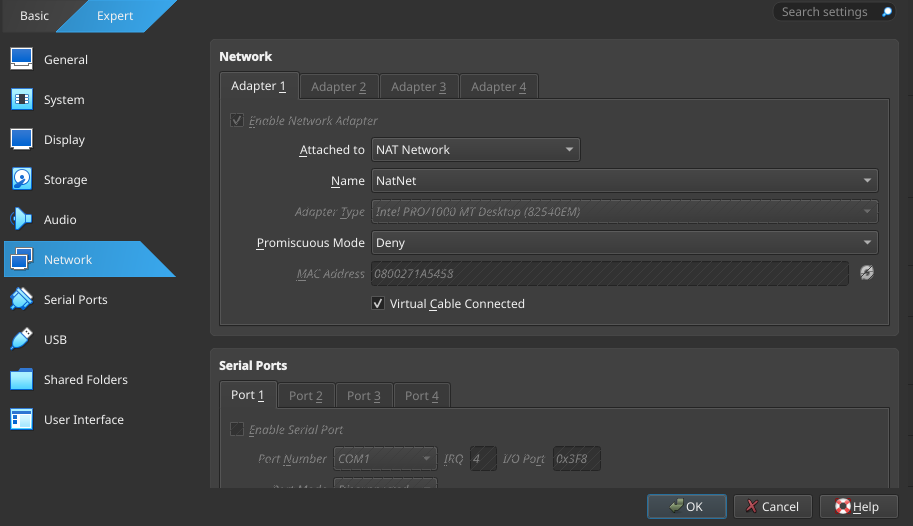
Important:
- It is recommended to Power Off the VM and change the network settings and turn it back on.
- We are using
Nat NetworknotNAT.
We will be able to interact with the Ubuntu VM through the console provided by VirtualBox.
We can login to the VM by using the username and password we set when creating the VM.
Next, we will set a custom static IP address for our server, by editing the netplan config in the /etc/netplan/ directory (eg: /etc/netplan/00-installer-config.yaml).
Run ip link to find the exact name of the network interface. It typically starts with en (such as enp0s3 or eth0)
sudo nano /etc/netplan/00-installer-config.yamlUpdate the file to match the following config:
network:
  ethernets:
    enp0s3:
      dhcp4: no
      dhcp6: no
      addresses:
        - 10.0.5.5/24
      routes:
        - to: default
          via: 10.0.5.1
      nameservers:
        addresses:
          - 8.8.8.8
          - 1.1.1.1
      set-name: enp0s3
version: 2Test the netplan conf using sudo netplan try. If the configuration formatting is correct, it will ask you to press Enter to accept it.
Or to apply them directly:
sudo netplan applyConfirm your server is bound to the brand-new IP address using:
ip a show enp0s3For a better management of the server, we can use SSH to connect to the VM.
sudo apt update && sudo apt upgrade
sudo apt install openssh-server
sudo systemctl enable --now ssh
sudo systemctl status sshd To SSH into a VM running in a NAT Network, we have to use port forwarding.
Go to the NAT Network settings and add a port forwarding rule like below:
- Name:
SSH - Protocol:
TCP - Host IP:
127.0.0.1 - Host Port:
5022(or any unused port above 1024) - Guest IP:
10.0.5.5 - Guest Port:
22
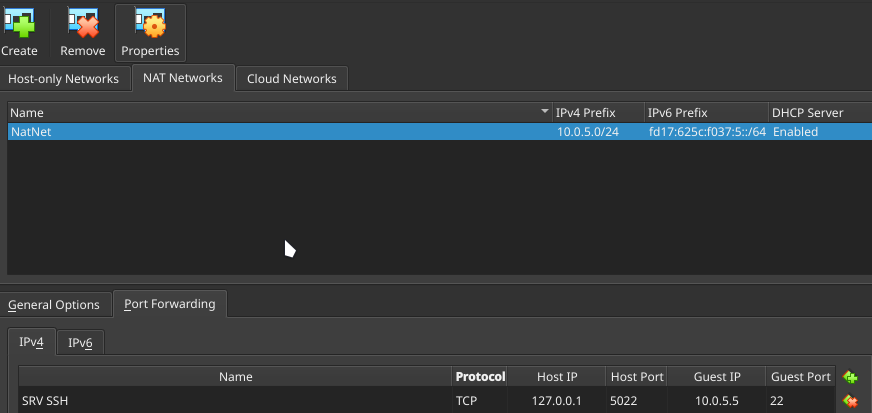
Now we can ssh into the VM from the host using the following command:
ssh -p 5022 username@127.0.0.1We can also add the following entry to ~/.ssh/config for easy login
Host ubuntu-srv
    HostName 127.0.0.1
    Port 5022
User usernameNow we can just ssh using the below command:
ssh ubuntu-srvInstalling Wazuh#
Run the wazuh installation script:
- Refer https://documentation.wazuh.com/current/quickstart.html ↗ for the latest updates.
curl -sO https://packages.wazuh.com/4.14/wazuh-install.sh && sudo bash ./wazuh-install.sh -a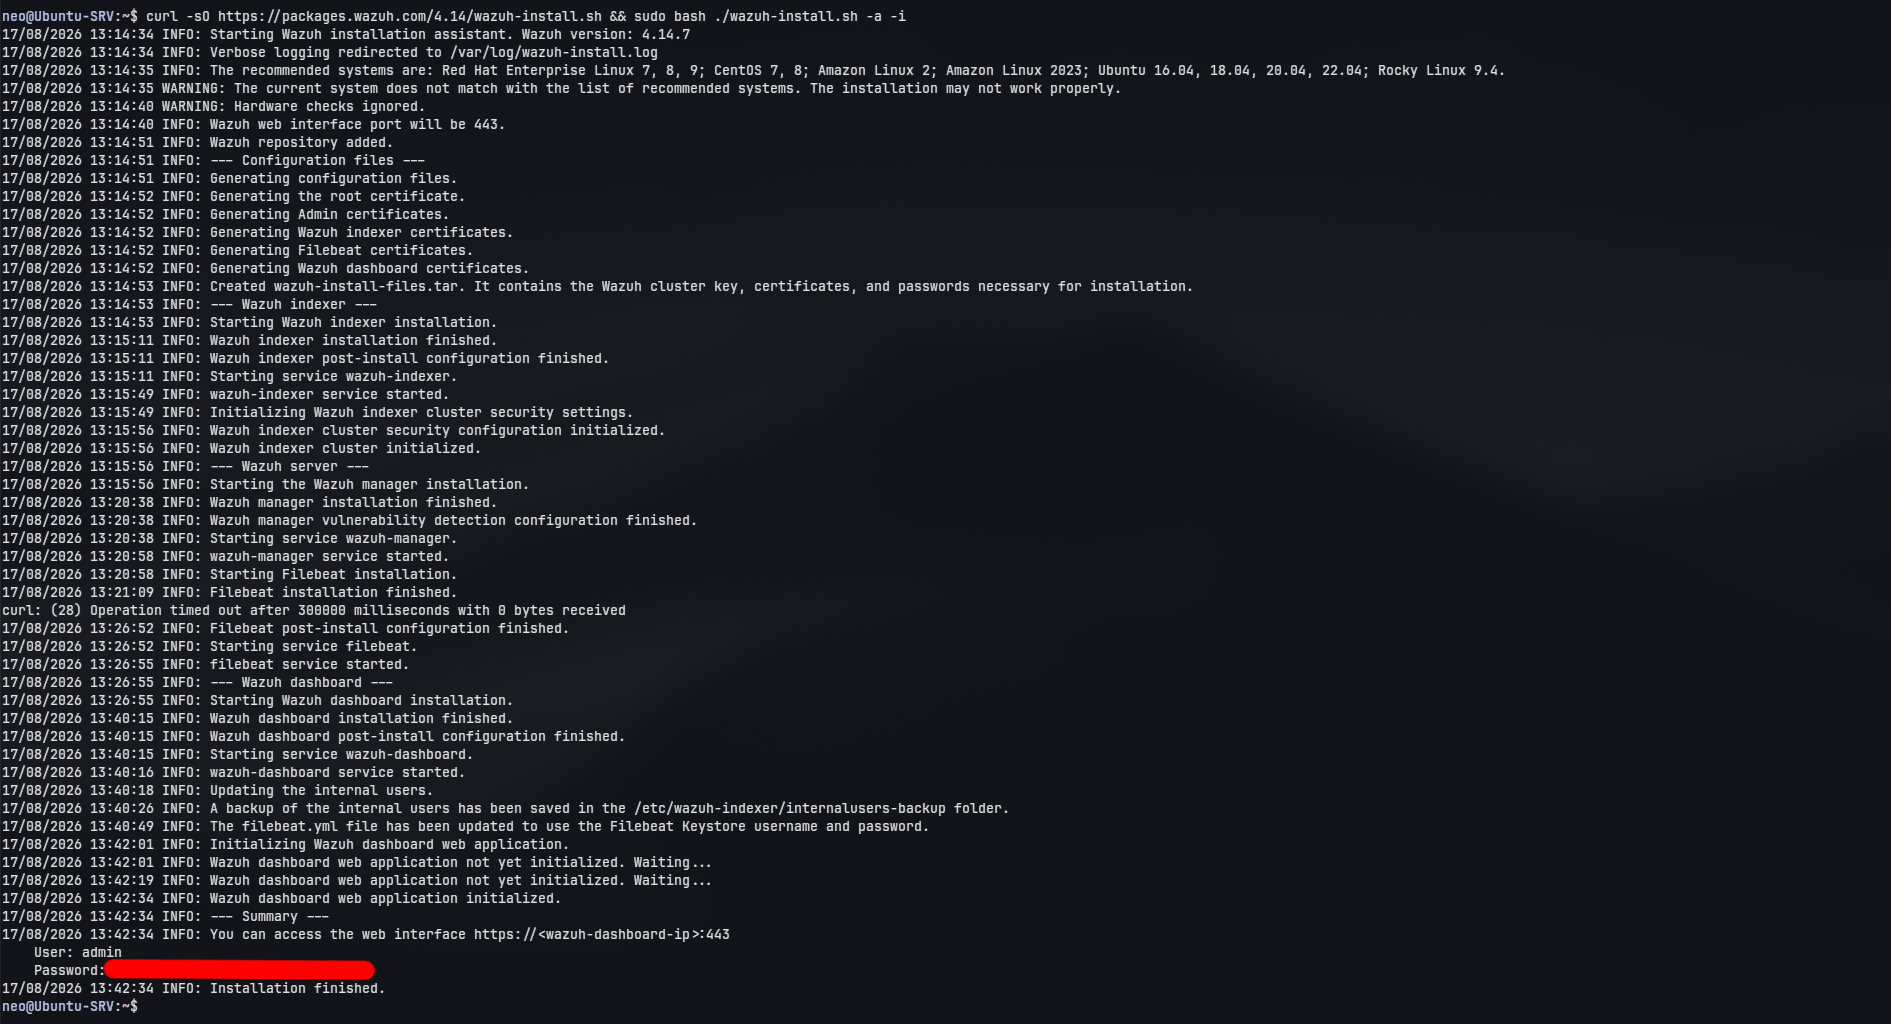
Once the assistant finishes the installation, the output will show the access credentials and a message that confirms that the installation was successful.
The dashboard is accessible through the port 443. Let’s add a port forwarding rule for that too.
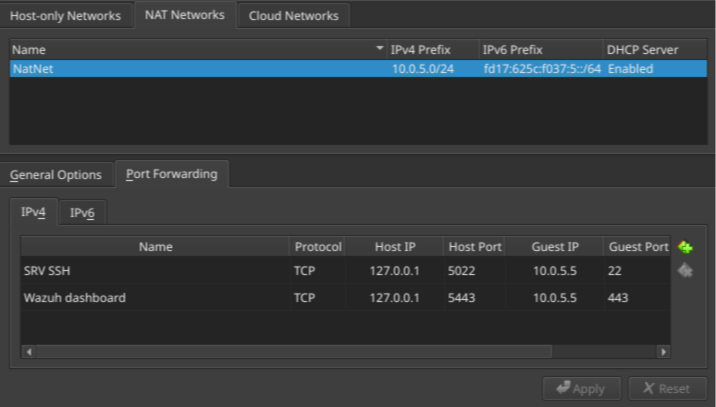
Now we can simply access the dashboard from our host machine by visiting 127.0.0.1:5443
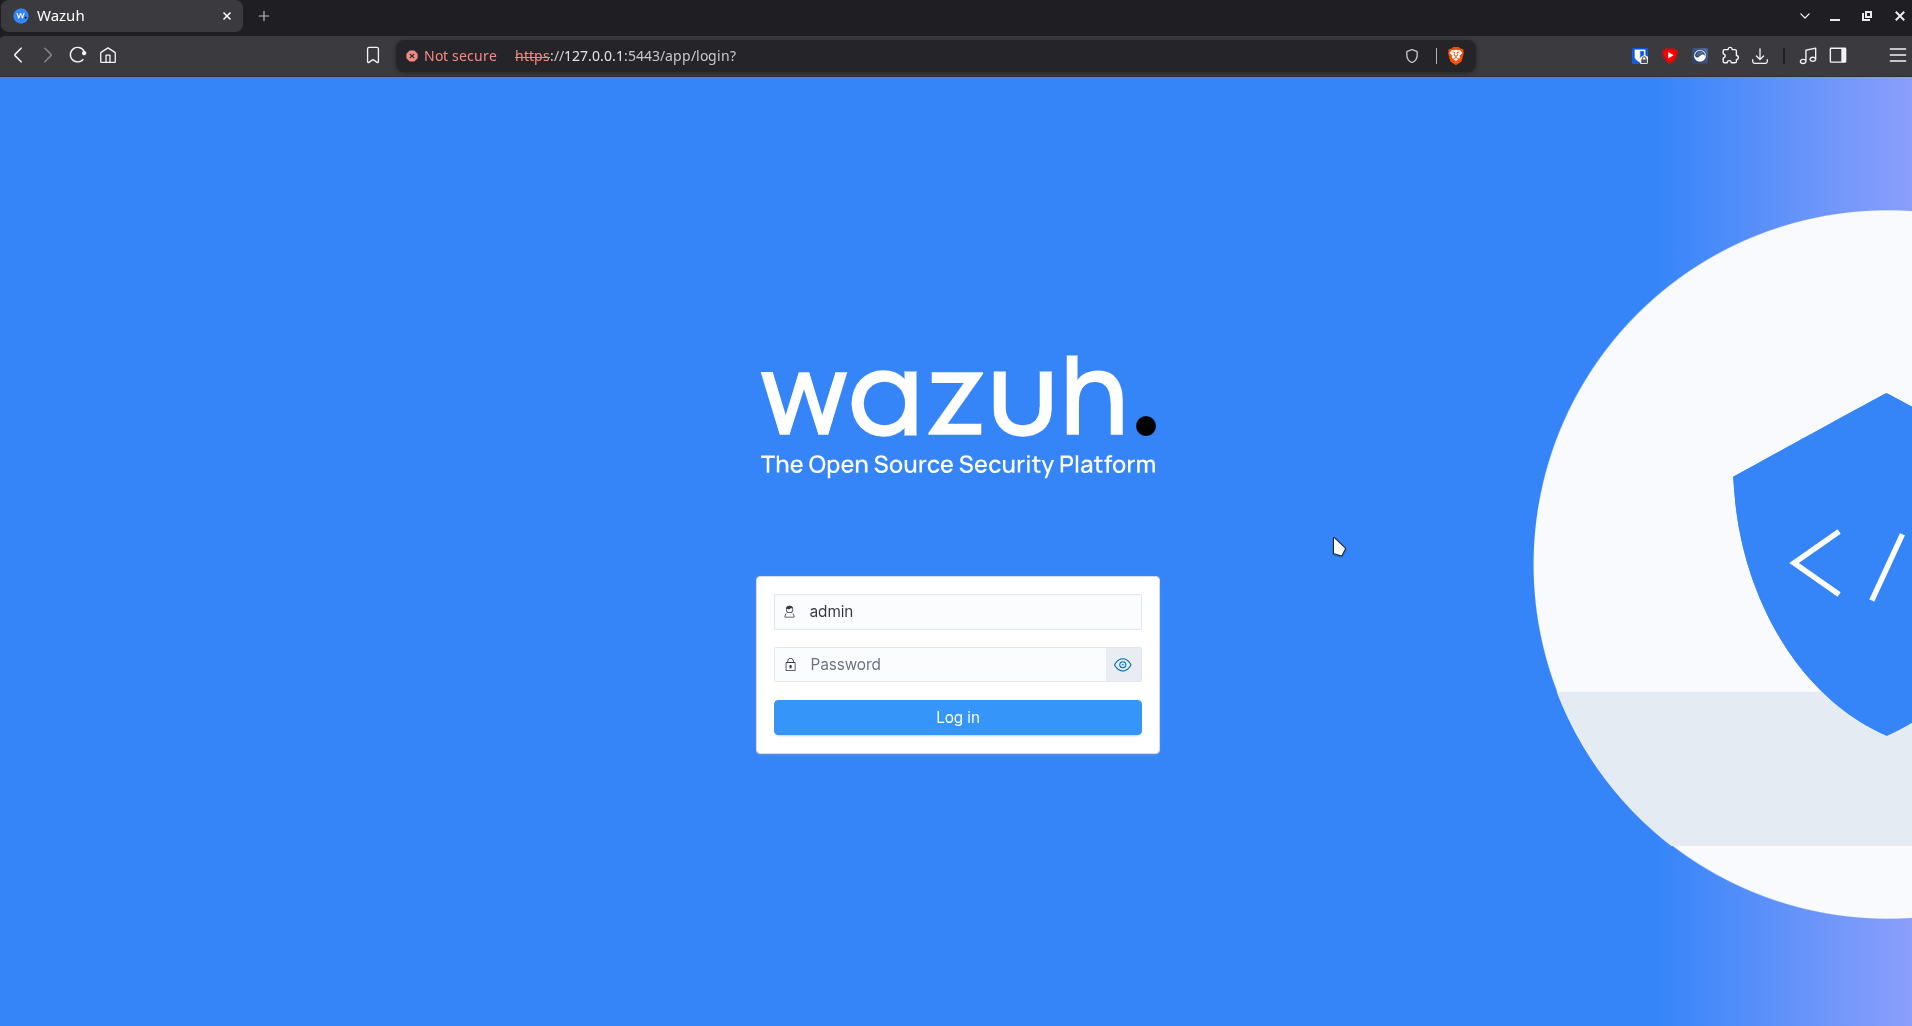
Login using the credentials provided after installation.
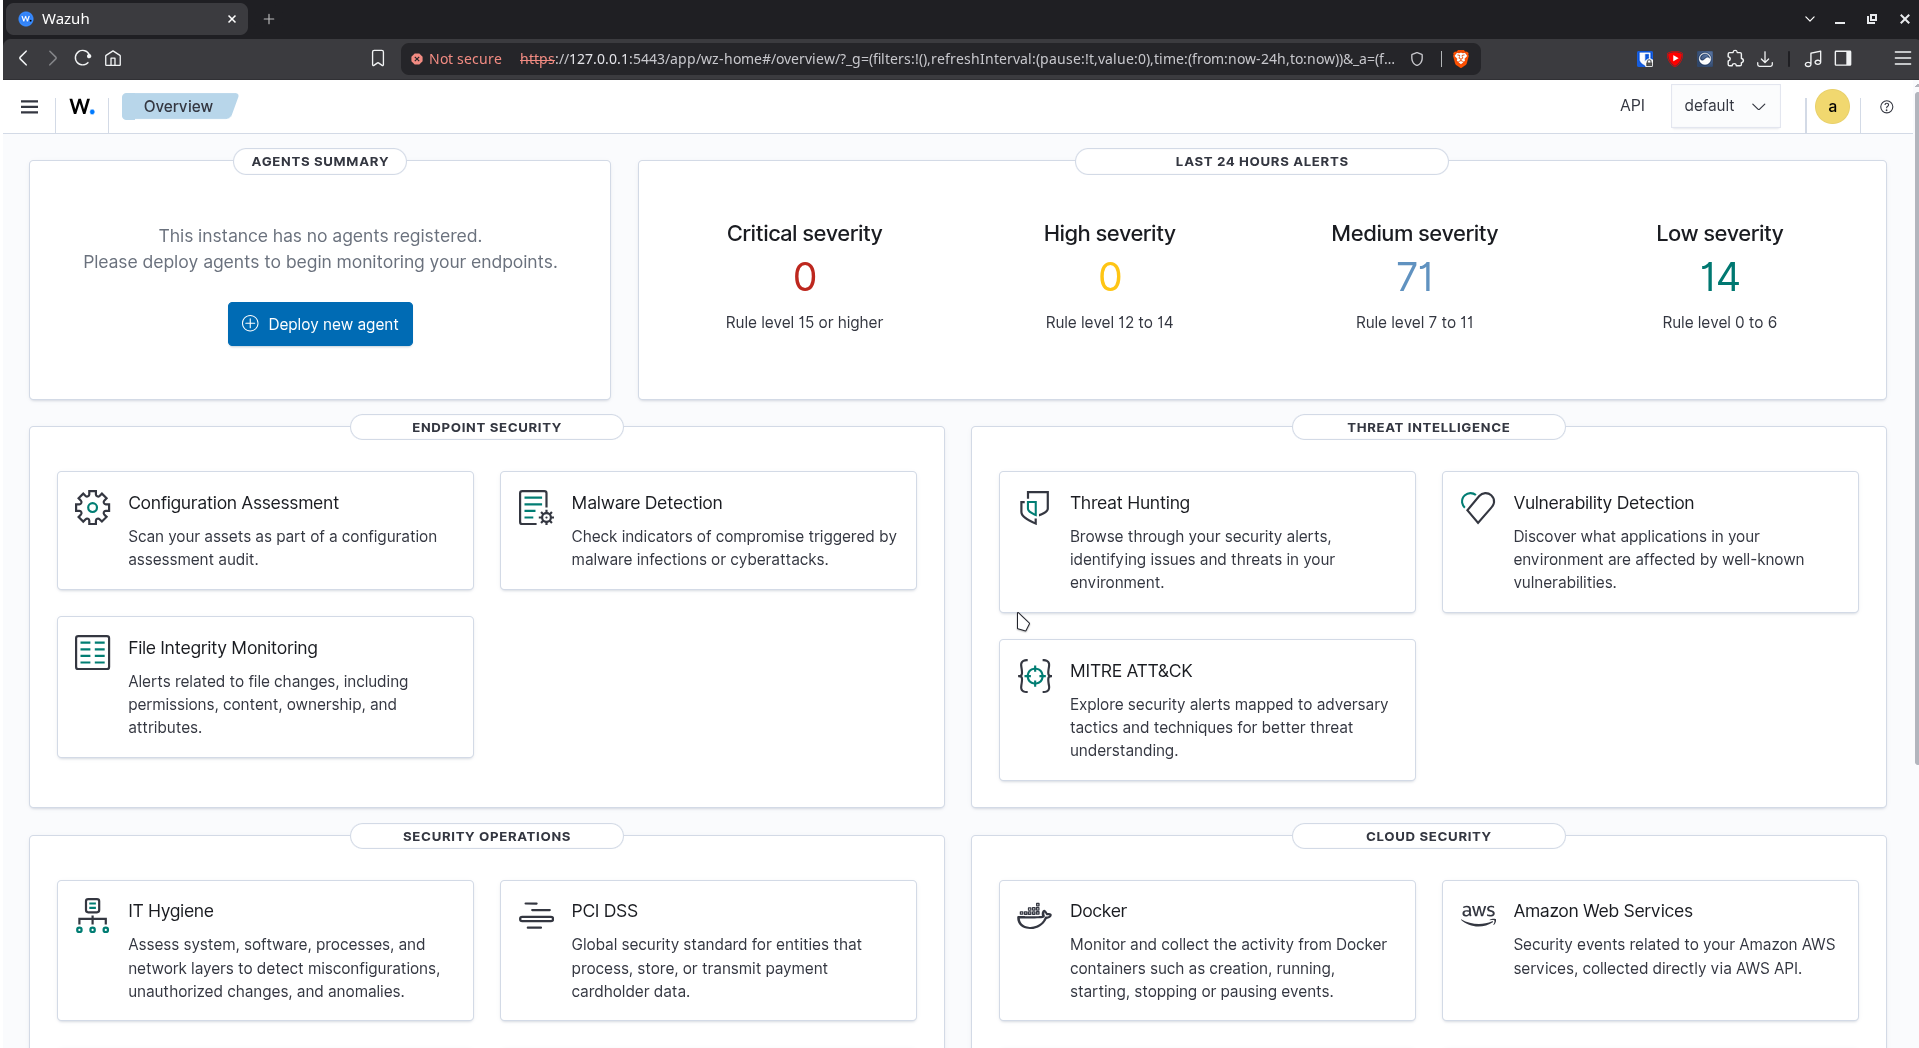
We are in the dasboard.
If its not working check the status of wazuh server:
systemctl status wazuh-indexer
systemctl status wazuh-manager
systemctl status wazuh-dashboard
systemctl status filebeatAdding a Windows endpoint#
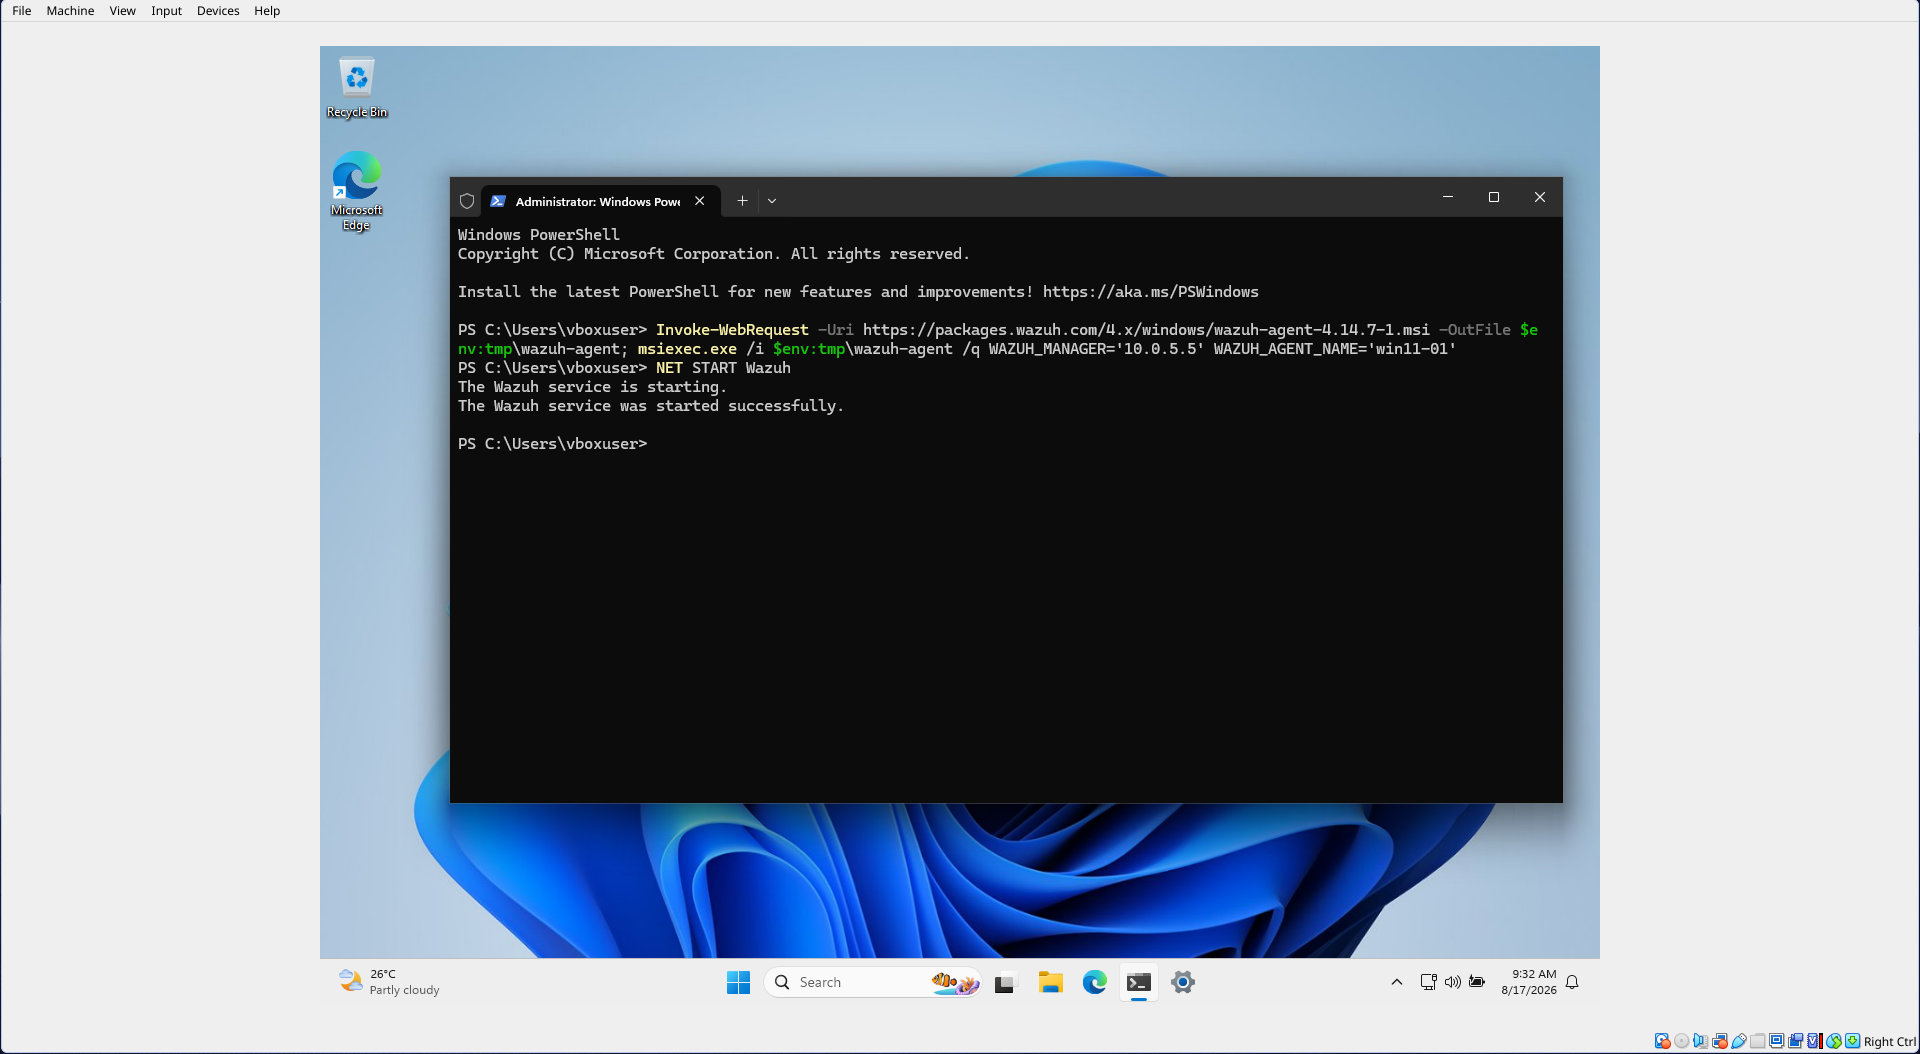
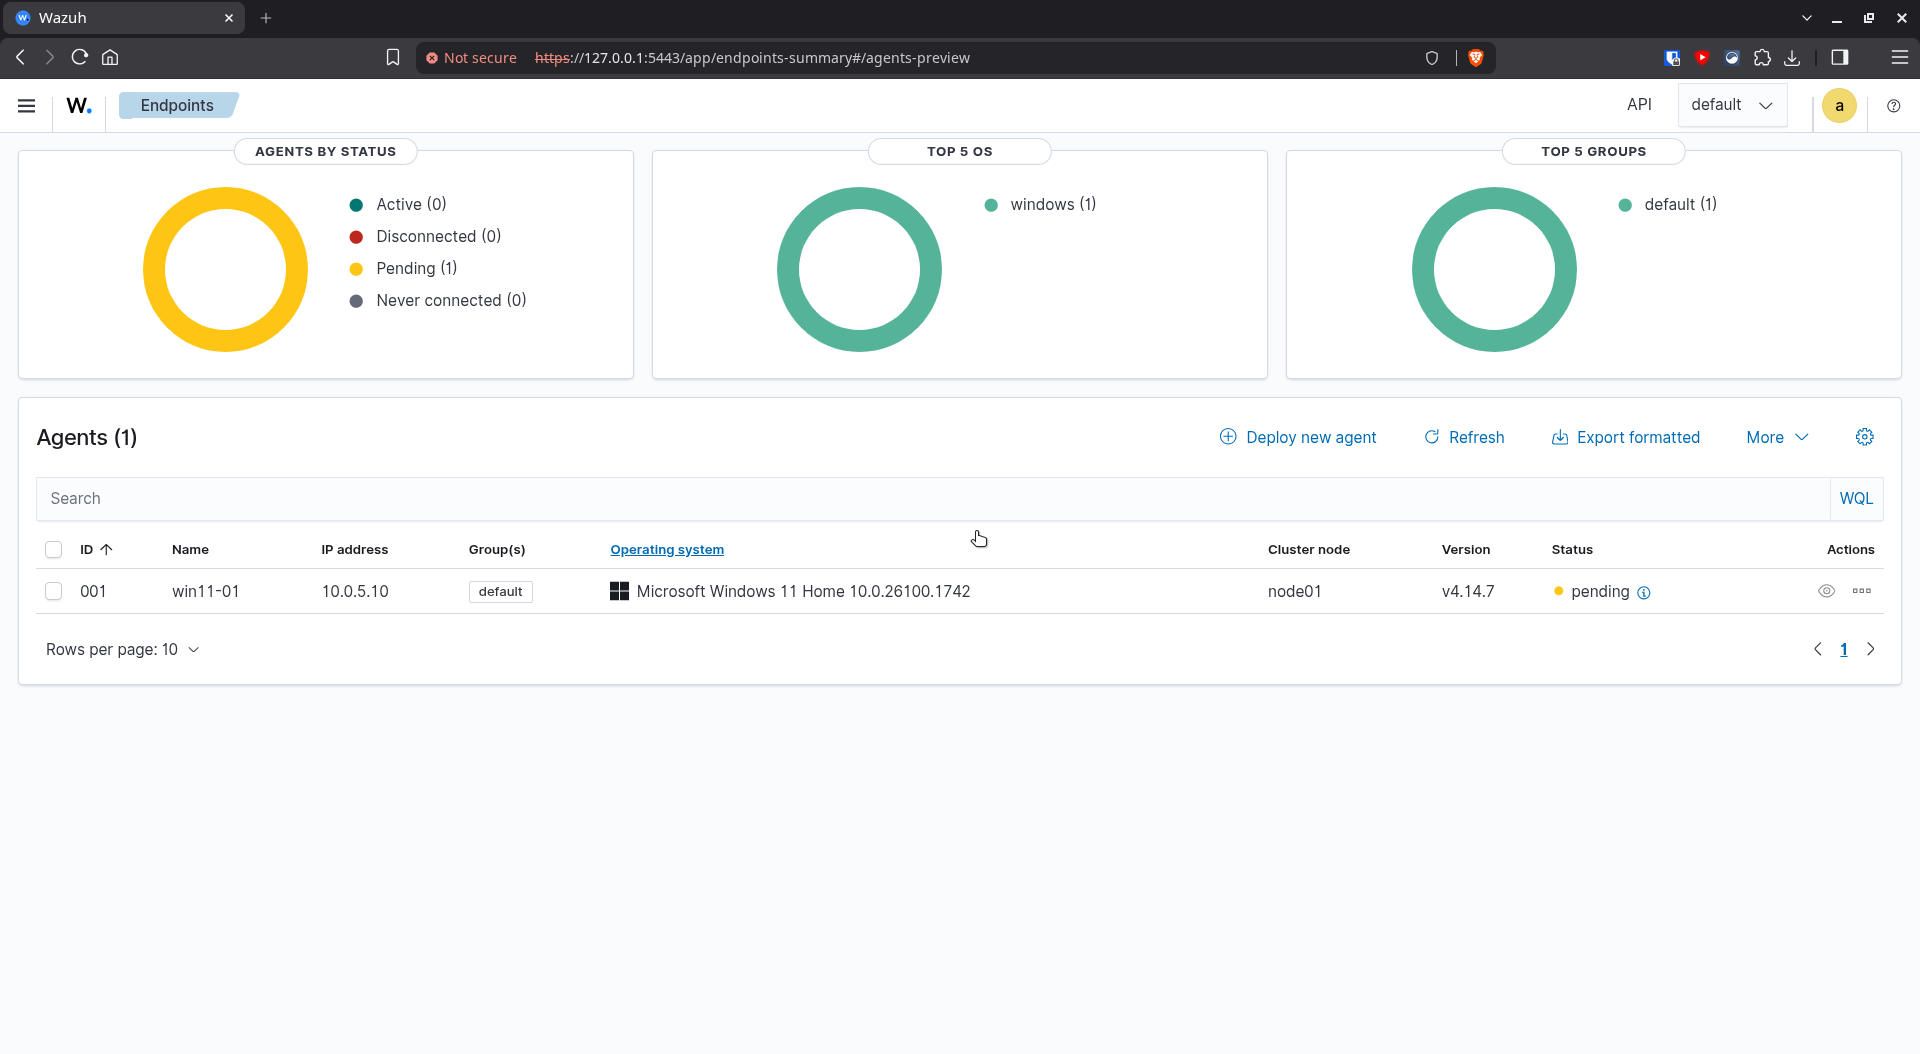
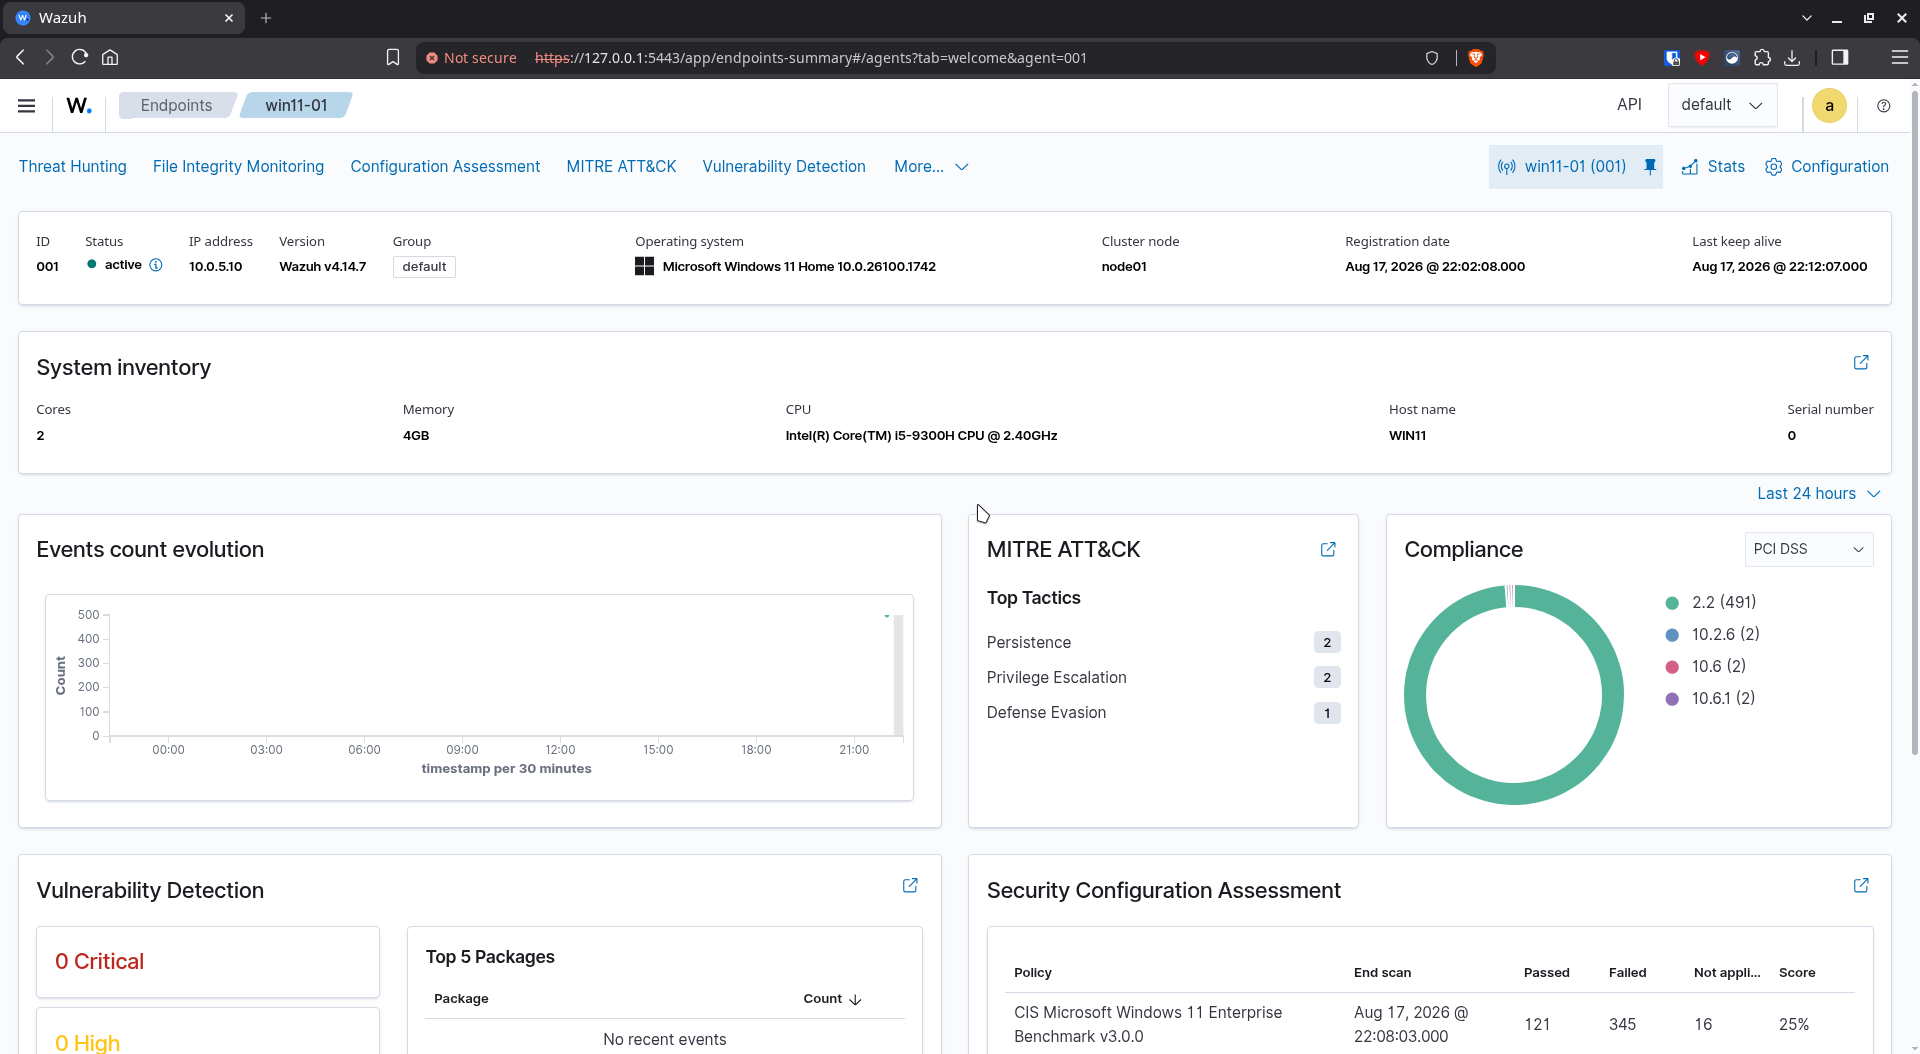
Let’s install a Wazuh Agent on a Windows machine.
Setup a Windows VM in VirtualBox if there isn’t one and set the network to the same NAT Network.
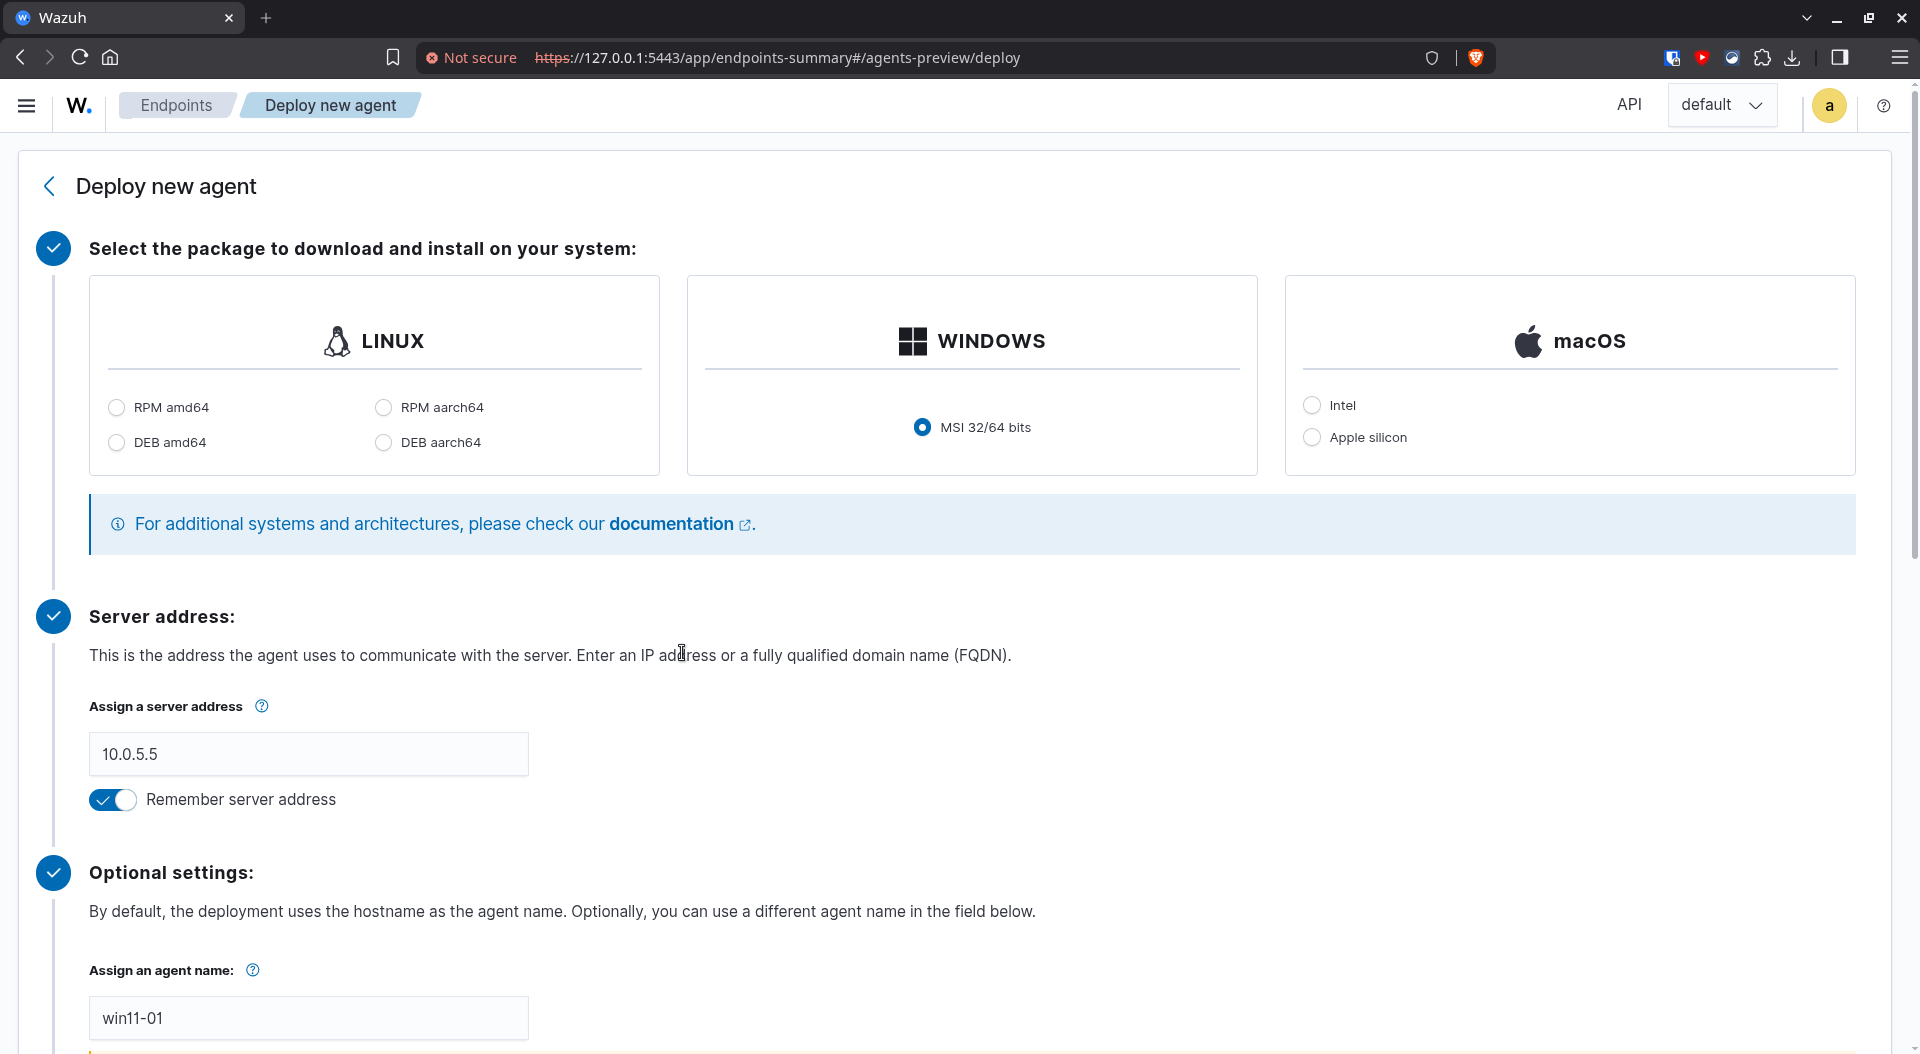
From the sidebar, go to Agents Management -> Summary -> Deploy new agent
Choose the Operating System of the host running the agent, enter the Wazuh server address and give an agent name.
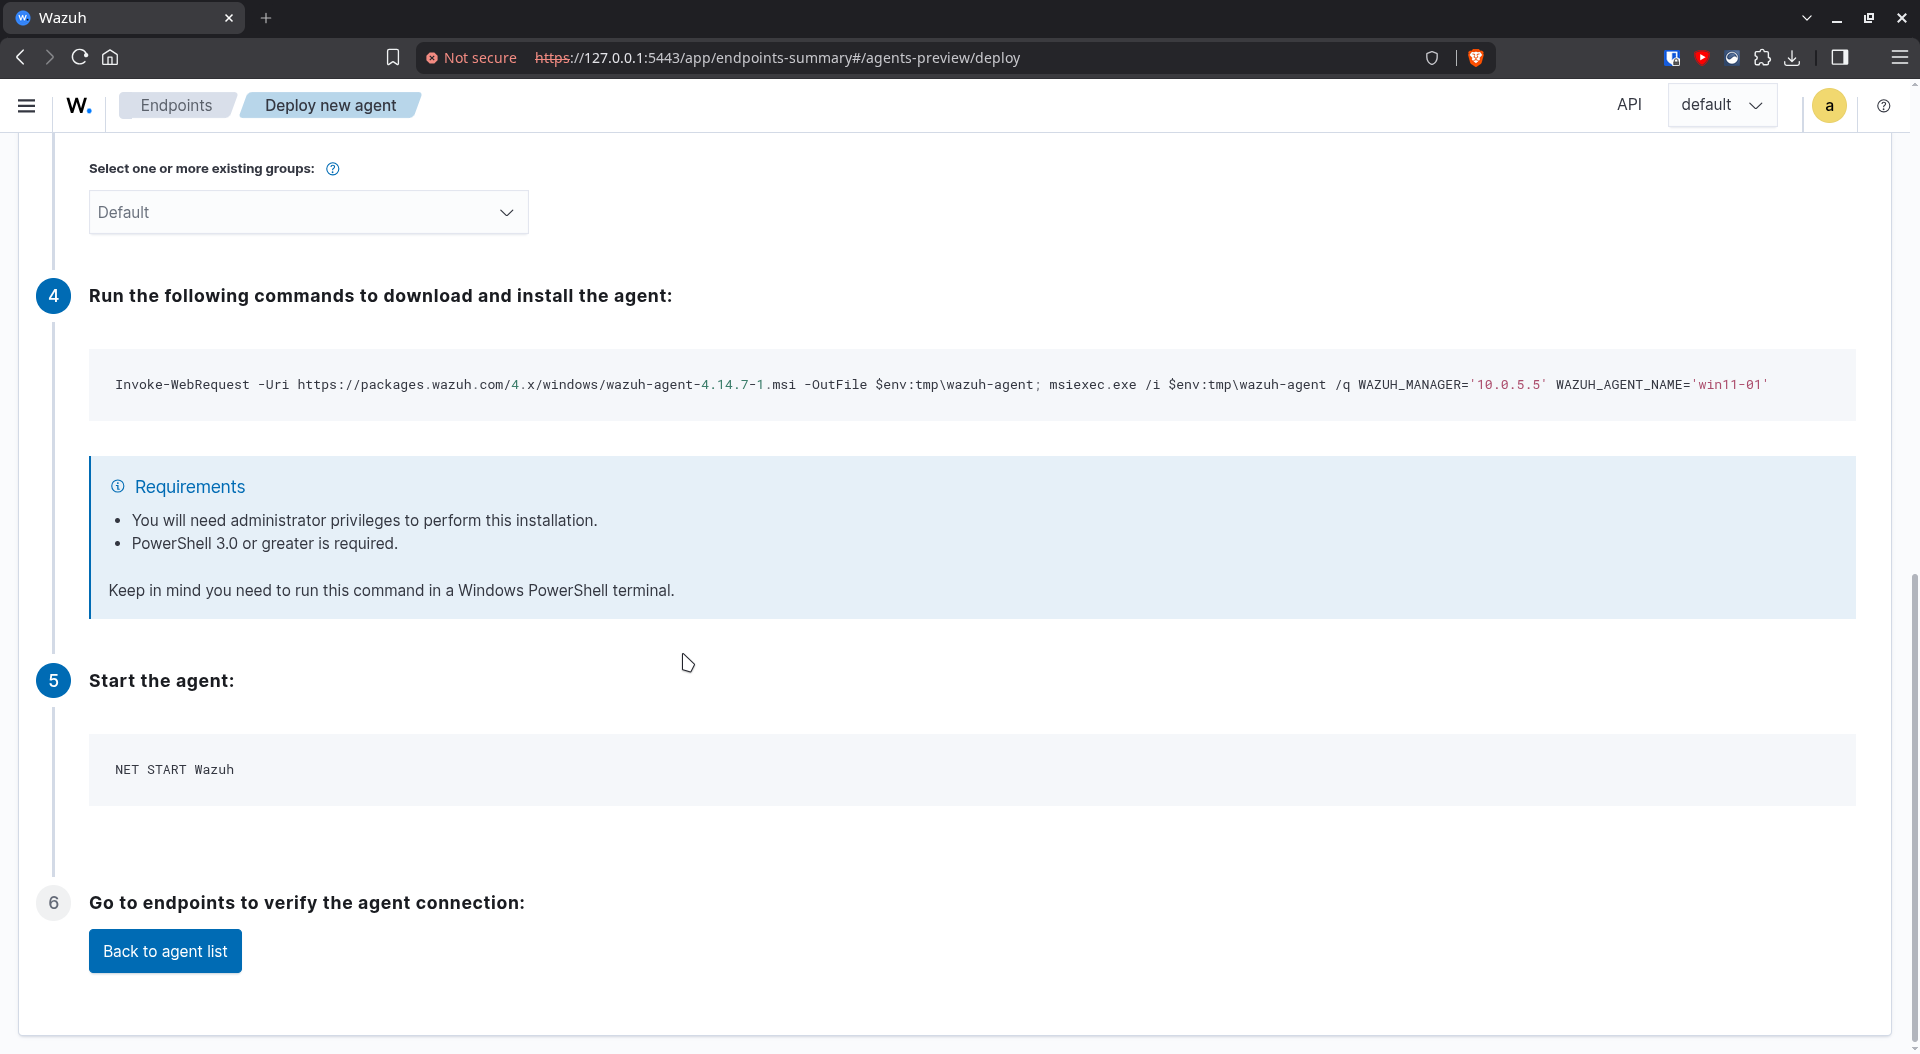
Run the generated commands in an elevated PowerShell in the Windows VM.